This is absolutely not book related. Or maybe it is...
Current Project
I’ve received a large number of requests asking for instructions on how I make the stone mosaics. I figured this was the most efficient way to share what I have learned.
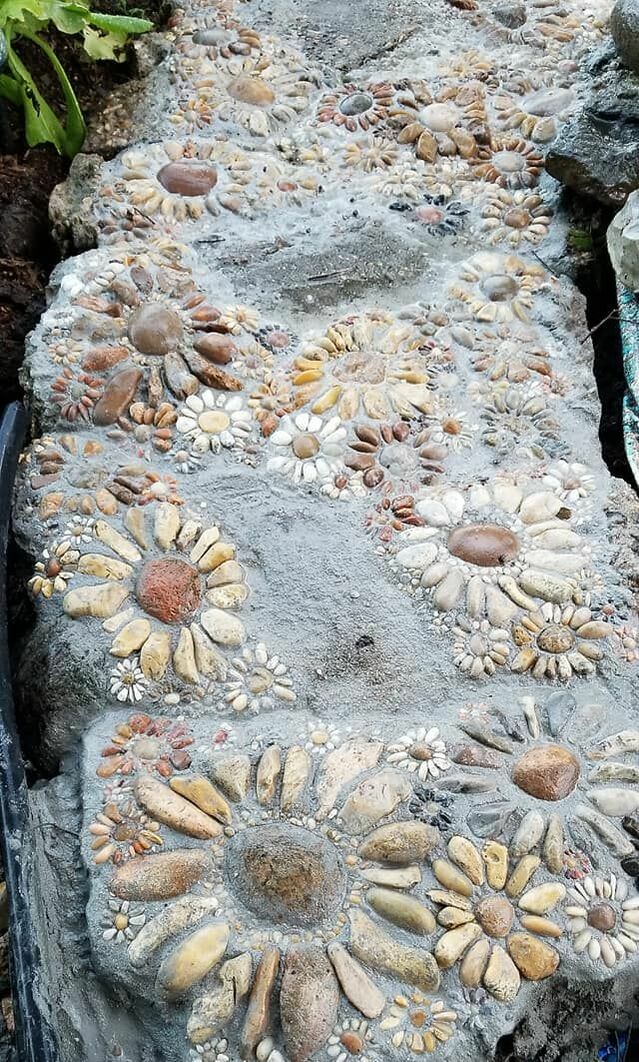
I am building a circular walkway, several stone mandalas and a few sets of rounded stairs that go up to the berm of the koi pond and the pergola. For simplicity’s sake, I am just going to outline how I do the walkway. (Stairs are a different beastie that I have not perfected at the time of writing this. I will update once I figure it out.)
First, credit where credit is due. I took my inspiration from Jeffery Bale. If you haven’t seen his work, you should grab a cup of coffee and take a virtual tour of his garden projects. They are incredible. Given that I am in Louisiana, and if I care to look for rocks in nature I have to go to the abandoned railroad tracks, I suffer from terrible rock envy when I visit his website. Also, he has an excellent tutorial on stepping stones. A stepping stone is a good place to start if you'd like to make your own stone mosaics.
I made my first mosaics a few years ago and made some mistakes that have required fixing during this latest project. The biggest was that I did not appreciate the natural, subtle slope of the garden and consequently, water pooled in places I definitely did not want it to pool. The other error was that some of the old mosaic passed over tree roots, and I made it too thin…no surprise, it cracked. The new walkway is thick and reinforced with rebar (or a free substitute. I’ll get to that later.)
Step One… Get Your Stone, Sort Your Stone
This is the most tedious, time consuming part. I use bagged stone, collected stone, and I make visits to various rock yards to purchase stone. You want to see the stone wet to see its true color, so when I go to the stone yard in Houma, I carry a bucket of water and pick the stones I want. No waste. Bagged stone is available at the big box stores. I really like the Calico Stones by Vigaro, available at Home Depot. Beach pebbles are very nice, but pricey (and I am on a budget.) I tend to save them for the special bits, like the stairs. (No pressure or anything.)
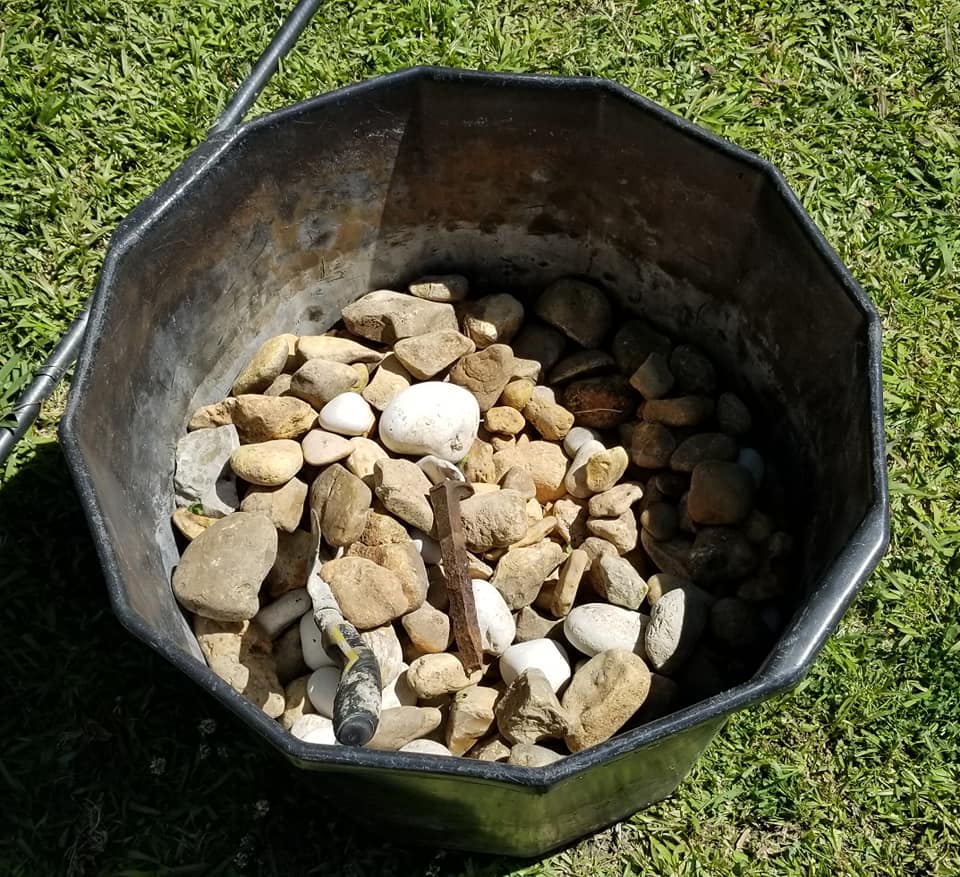 Rockhounding in Louisiana...gathering stones on my step-brother's property at the abandoned railroad tracks.
Whatever the source, I take the bags of pea gravel, pond pebbles and assorted random rocks. I sit down with the dogs in the garden. The dogs chase squirrels and visit the fish and lay down in the flower beds. I spray the rocks with the hose....and ...sort them. Color, shape and size. It takes a while. Nobody but the dogs like this part of the project.
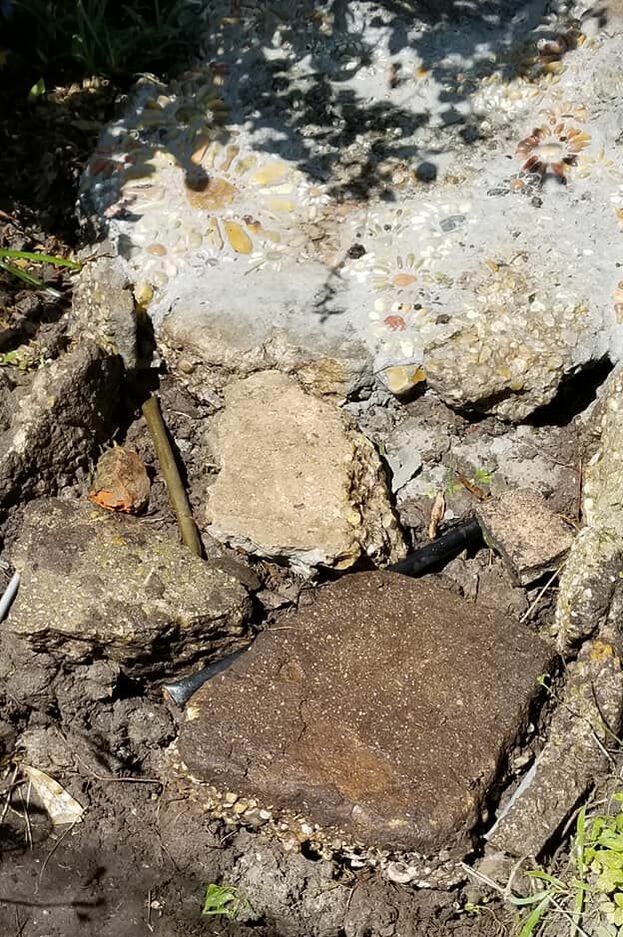
Since I am on that budget, I use broken pieces of concrete as the big “stones” in the walkway. I’d love real rocks. Don’t get me wrong. But the heap of broken concrete, a former parking lot from a friend's business, was free for the taking. I need to have enough money left in my garden budget for more plants, right?
Since I am on that budget, I use broken pieces of concrete as the big “stones” in the walkway. I’d love real rocks. Don’t get me wrong. But the heap of broken concrete, a former parking lot from a friend's business, was free for the taking. I need to have enough money left in my garden budget for more plants, right?
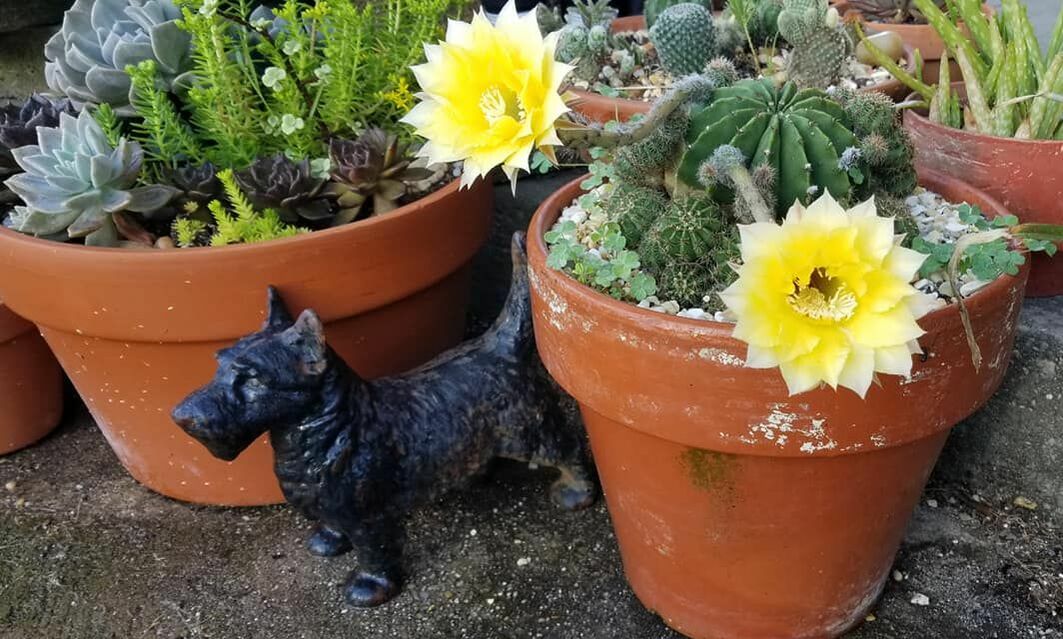 My other gardening passion.
The most precious stones are the ones I have collected through the years. Rocks from Oregon that I pocketed on Mt. Hood. Rocks from Kentucky when we lived there. Rocks from my family's old home on Bayou Lafourche. My daughter brought me stones from Ireland on her trip to Dublin. My other daughter brought me rocks from New York. My mother brought me rocks from Texas. A dear friend sent me a box of stones from the shores of Lake Michigan. Another friend is sending me stones from Scotland. The whole structure -- plants, pond, fish, stone -- it is all very symbolic and filled with emotion for me, and those stones especially remind me of the love of friends and family. Whenever family members go on trips and ask me what I want as a souvenir, I ask for a rock. Or better still, several rocks.
And...to my other friends and family members, if you would like to mail me a rock, I will gladly reimburse your postage and send you a cactus pup in exchange! A pup...meaning a baby cactus. You can't have my little iron Scottie dog :-)
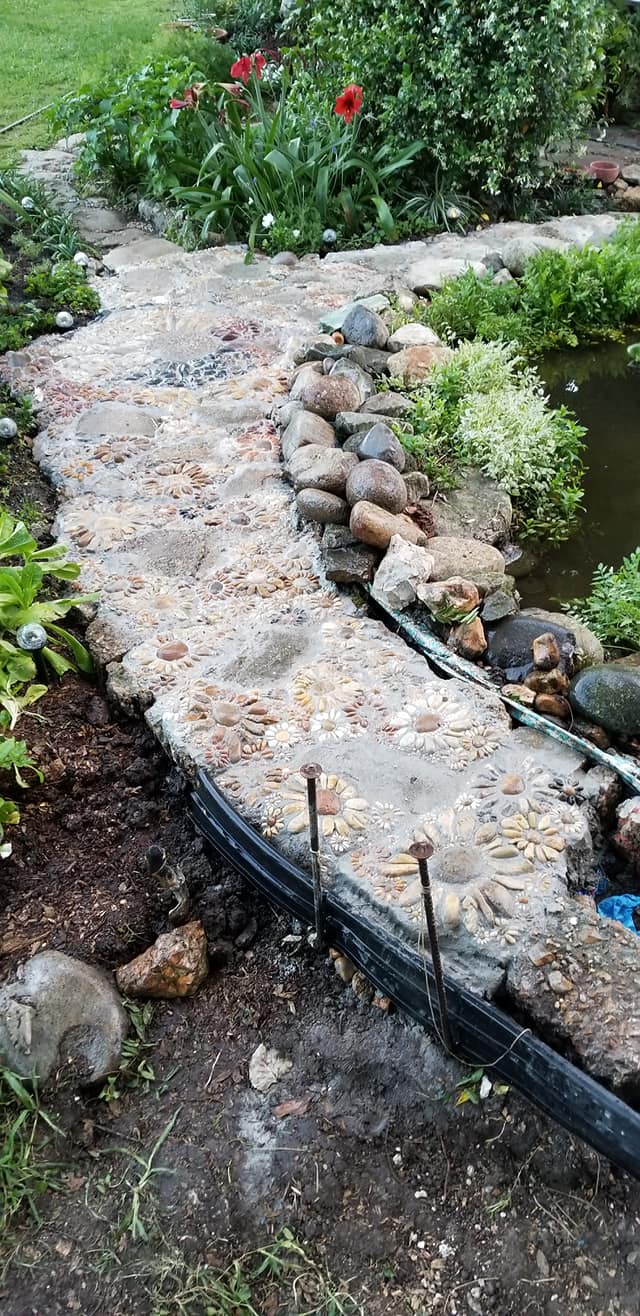
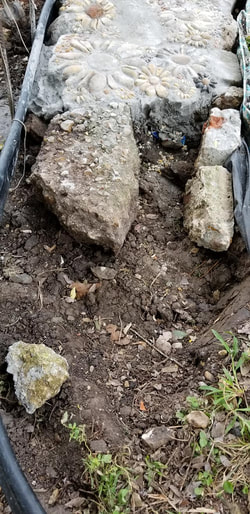 Prepared form with plastic flower bed edging for a rounded edge. Concrete is in place. It is ready for the field fencing reinforcement.
Step Two…Practice and Preparing the Form
If you would like to practice and see how your stones will look in the pattern you want, fill a dishpan with sand and sink the rocks in the arrangement you intend. But this is important….do not lay the stones flat. You want as much of the stone’s surface area in contact with the cement so they don’t pop out.
Form preparation can get a bit tricky if you use broken chunks of concrete. The thickness will vary, obviously. You might have to dig a bit here and there to get it level. Most of the time I dig about 8 inches down, lay and level the concrete bits and then back fill with soil and tamp it down so that the form is then about 4-6 inches deep. Of course, you can build a regular form out of 2x4’s and plastic flower bed edging works for curves and irregular shapes.
I add stuff to the hole....small chunks of broken concrete. Broken bricks. Reject rocks. I like to use rebar of some sort to reinforce the concrete. Most often, I use junk metal from my husband’s recycling pile. Lately it has been cut up pieces of old field fencing that I fold to the shape of the hole I intend to fill with cement. It works fine, and it gets rid of the fencing that the garbage man didn’t want to take.
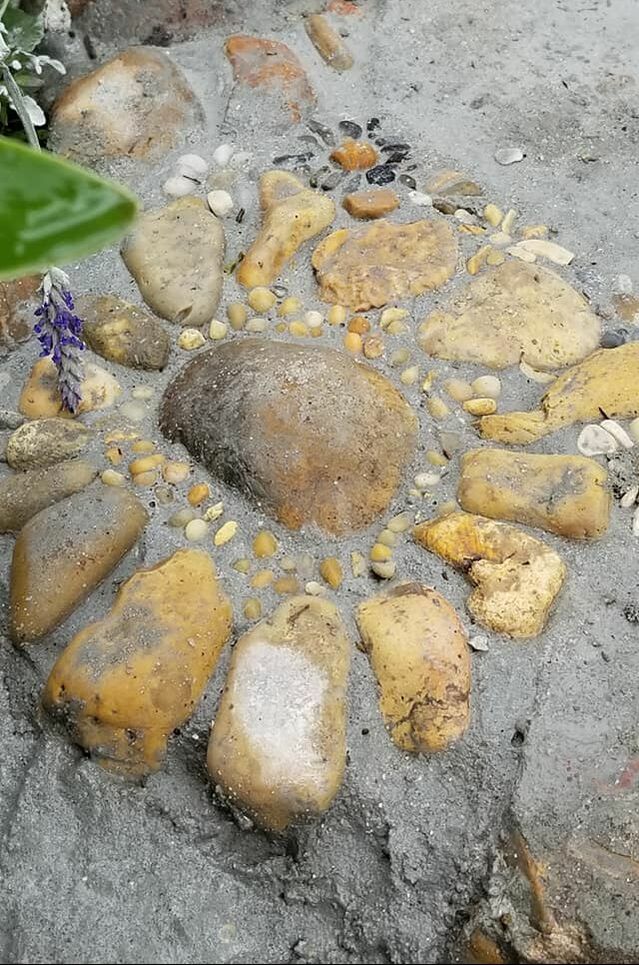
Step Three… Cement Time!
I use Type S Masonry Cement. It’s about $6.00 a bag and the bags weigh 80 pounds (my back loves that.) The masonry cement doesn’t have pebbles, so it makes putting the stone in place much easier. I use a low-sided Rubbermaid tub and mix my mortar until it is the consistency of thick pudding. If I am using large stones, I leave it a bit dryer…they sink too deep if the mortar is too mushy.
Things you need:
Use latex gloves. Seriously. Mortar will take your skin off. And the dust is bad for you, so a mask is a good idea, too. Also good ideas, speaking from experience. Cheap knee pads and finger cots, under your gloves.
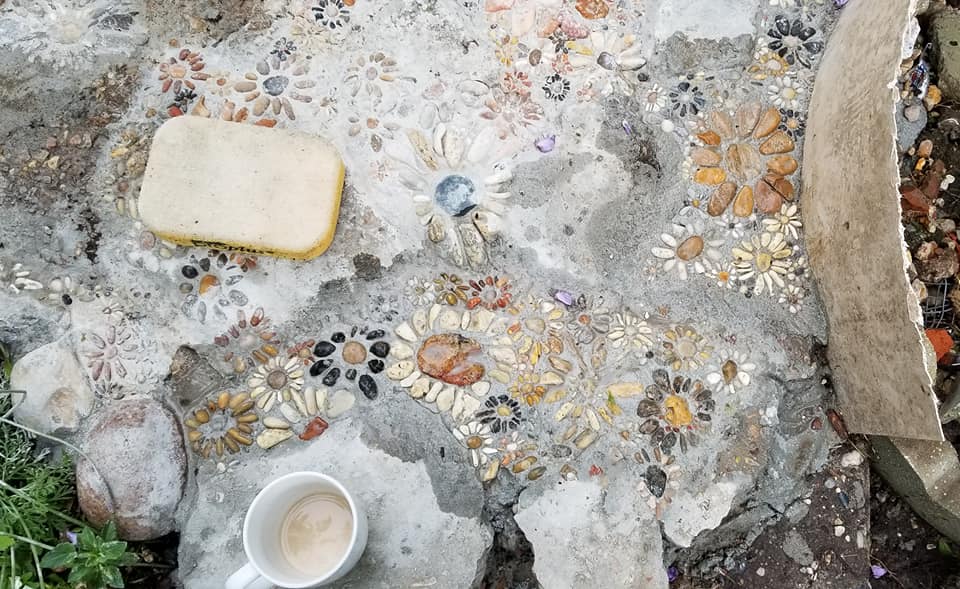
Also, you will need a grout sponge for absorbing excess water and smoothing.
I usually keep a small bucket of water for moistening the cement, wetting the stones and to wash off any mortar if I remove a stone. I use a sharpened pencil or a sharpened dowel rod to pop out any rocks that don’t go in correctly or don't look right once I have them in the cement. If you are working with small stones, a fine point is useful for nudging them into place and tapping them into the mortar.
Be sure to wet the surfaces of the hole and form so the cement will stick properly.
Then I just plop the cement into the hole with my hands and smooth it. Keep in mind...this is where you need to pay attention to levels. Once you put stones in, they will displace the mortar and pillow the wet cement out a bit. It can create spots where the water will pool on the walkway.
Step Four… Setting the Stones
Wet stones are easier to place. And saying this again...when you place them in the cement, lay them vertically rather than horizontally so they have the maximum exposure to the concrete.
I try to have an idea of what colors I am planning to use and have the sorted stones in flower pots or buckets in easy reach. Depending upon the weather, I find the cement will begin setting up in about an hour and a half to two hours. It's just to stressful to be scrambling in my rock piles looking for just one more black rock while the mortar bakes.
Mist the stones lightly after you are done and use the grout sponge to smooth the mortar.
Step Five … Curing and Finishing
I water the cement a few times a day with the hose on mist for several days, especially if it’s really hot and humid (when is it not in south Louisiana?) I do this for a couple weeks. The mortar company says three days, so that's probably adequate.
I have been told that diluted Muriatic acid will remove the haze of masonry cement the clings to the stones. But the haze wears off with time, so I’ve never used it. You can scrub them with a bristle brush and remove the stray bits of mortar and film that covers the stones.
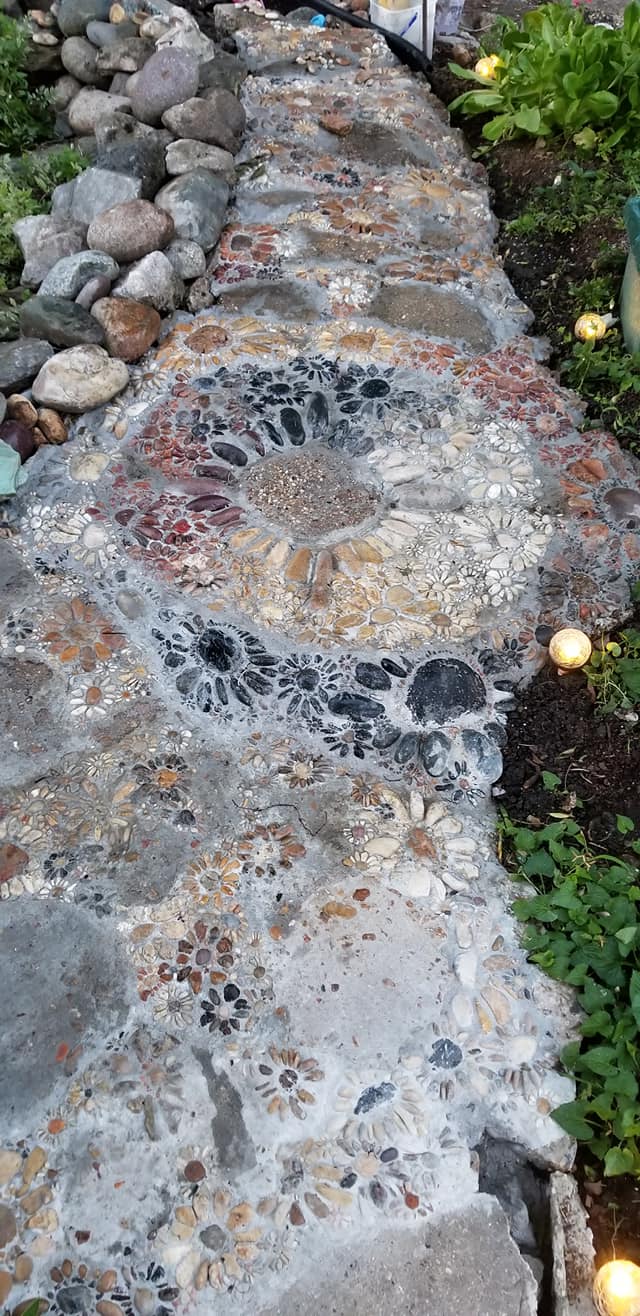
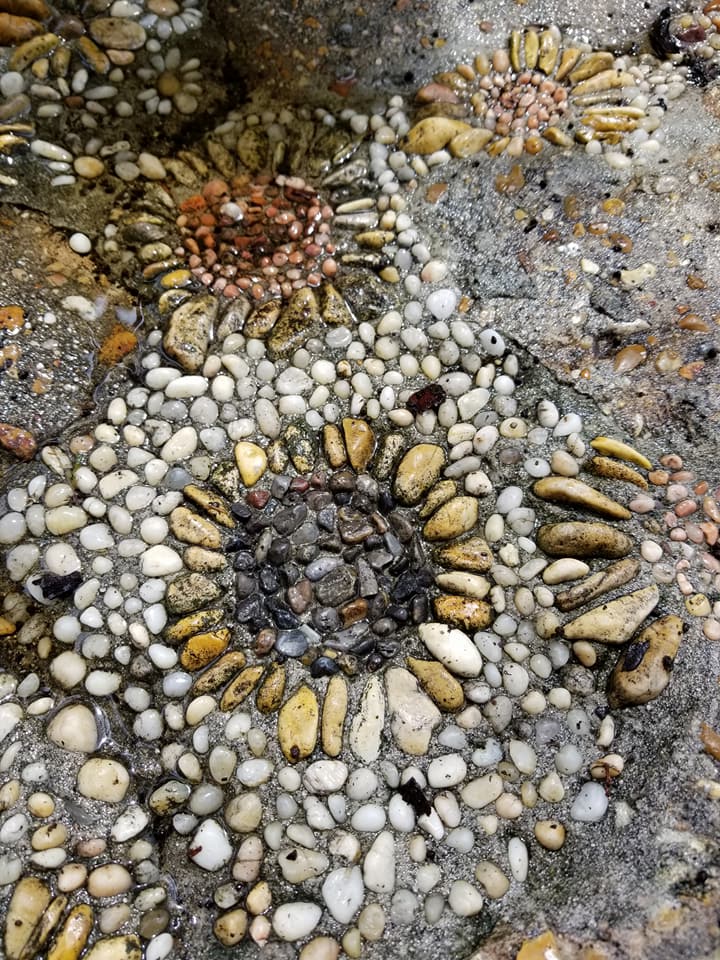
And that's it. It's a lot of work, but I love the end result. My kids call them magical. I tend to agree.
The new book is about magic. And death and rebirth. Creation and destruction, the way things cycle, the ways death is an ending and a beginning. It is also about ...stone circles.
And here I am, making real, magical stone circles.
Book. Stones. It's all connected. It all comes from the same place.
I'll update as I progress.
 RSS Feed
